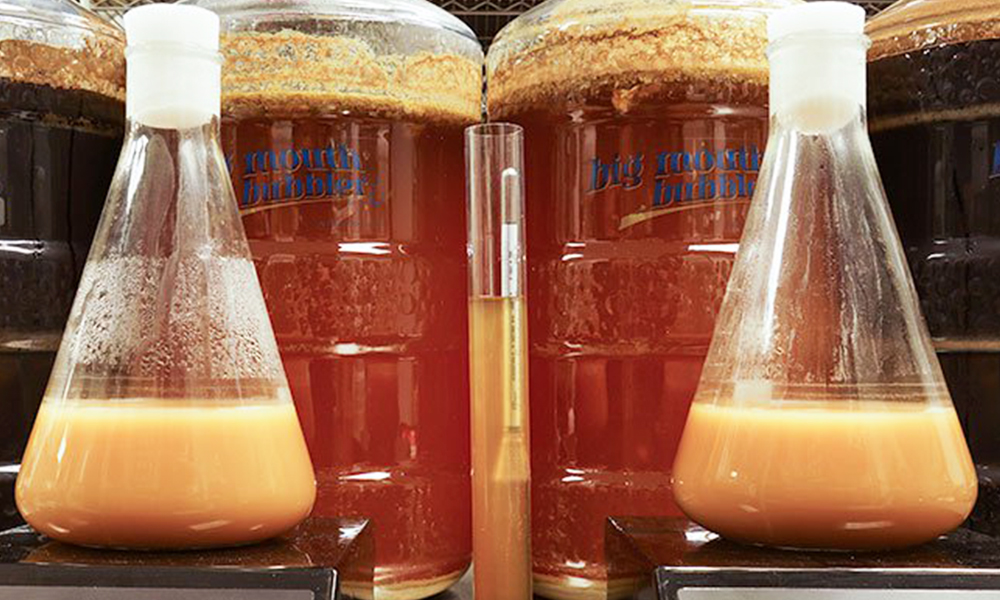
In this article, discuss method of propagating yeast (building up the yeast count through a yeast starter) which doesn't take much time or effort and enables a brewer to save quite a bit of money on yeast.The point of this article is not to debate the superiority of liquid over dry yeast; both forms have their merits. Rather, our purpose is to offer what we hope is a helpful suggestion when it comes to building and harvesting yeast starters.
Harvesting yeast post fermentation always seemed inefficient and potentially problematic. At that point in the process, and depending on the beer that was fermented, the yeast may not be in its best condition. High gravity wort may especially affect yeast health. What’s more, yeast that is being harvested at the end of a fermentation cycle needs to be “washed” or separated from the trub or undesirable remnants of that brew, which are made up of hop particulates and protein solids.
Instead, building and dividing a yeast starter prior to fermentation results in a much healthier and cleaner sample. We have used a yeast to eight generations, and have heard of others going far longer than that with no ill effects or changes in yeast character.
The process we use is outlined below, but first we’ve provided a list of helpful tools and ingredients.
Kitchen scale
Erlenmeyer flask (borosilicate glass)
Dry malt extract
Yeast nutrient
Canning jars and lids
Fermcap S foam control
Step 1:
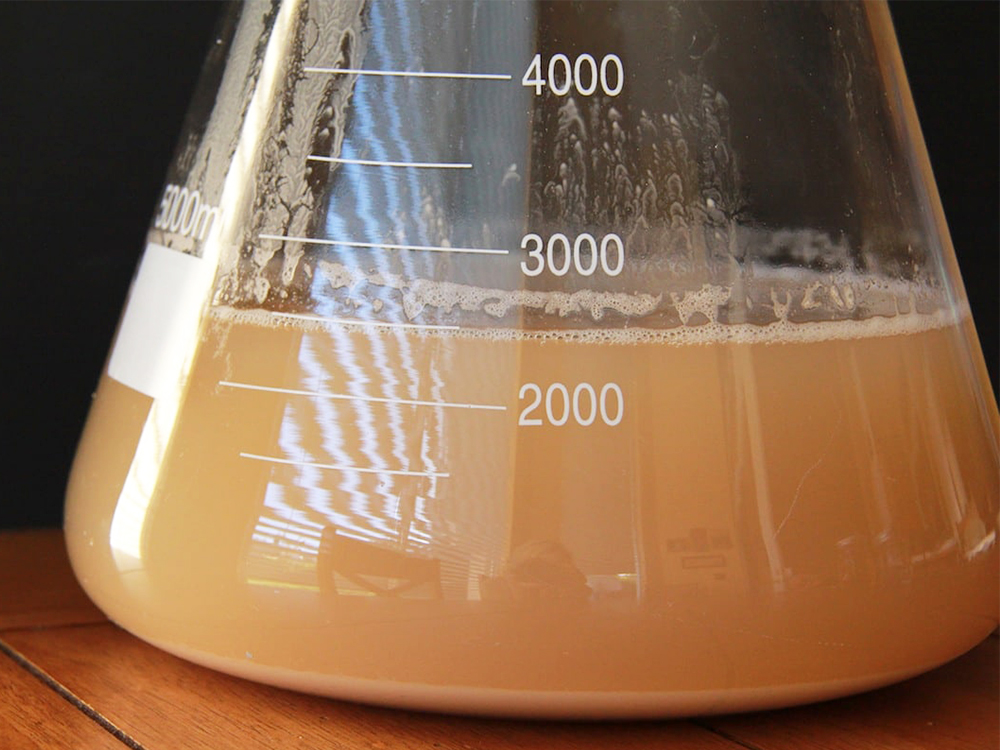
Clean and sanitize your Erlenmeyer flask. We have a 5-litre flask because we are usually making a 3 to 3.5 litre starter. Choose one that meets your particular needs.
Step 2:
Weigh out your dry malt extract (DME). Typically, 100 grams per litre will give you a 1.035-1.040 specific gravity which is perfect for growing yeast.
Step 3:
Pour the DME into the Erlenmeyer flask before you fill it with water. Trust us, you’ll want a dry flask and funnel for adding your DME; it’s very sticky, and any moisture around the neck of the flask will cause it to clump. Now fill your flask to the desired level with warm water which will rinse off any DME in the funnel. Cover the flask opening with clean aluminum foil.
Step 4:
Once you’ve added warm water to the DME, give it a good swirl to mix it up. We plan to put our flask on a stir plate once cooled, so we make sure our stir bar is sanitized and inside the flask but held up out of the way by some magnets so it’s being exposed to the steam of the boil, but not being damaged in the boiling wort (not sure if it would be but we don't take chances).
At this point, do yourself a favour and put a drop or two of Fermcap S Foam Control into your wort. This will keep your boiling wort inside the flask instead of all over your stovetop. We don’t have a gas range in the kitchen, so we use a little propane camp stove and it works great. Don’t make the mistake of putting a glass flask directly onto an electric element! If you don’t have an Erlenmeyer flask, you can boil the wort in a pot and then transfer the wort to a cleaned and sanitized gallon jug. If you’re using a glass jug instead of a borosilicate glass flask, be aware that it may not tolerate extreme temperatures.
Step 5:
Bring the wort to a roiling boil for a few minutes. The foil should be loose enough to let some steam escape.
Step 6:
Remove from the heat and begin to chill the wort as quickly as possible. We usually let our stir bar slip into the wort at this point to let the heat of the wort fully sanitize it. Have the yeast you intend to inoculate the wort with ready for pitching. We often build a 3-litre starter and then divide it into three or four separate jars which.are either used individually on brew days or get built into larger starters again.
It’s important to mark the jars clearly with the strain and date, because you will forget when it was set aside. We leave the lid slightly loose to let gas escape, but BREWHA has a Yeast Harvester with pressure relief on the Accessories page which would be perfect for this as you could seal it and know it won't explode.
If you are planning to open a brewery. TIANTAI BrewTech could help you answer your questions and supply the brewery equipment system. We supply 2-150bbl complete beer brewing brewery equipment system including malt milling equipment, brewhouse equipment, fermenters, brite beer tanks, beer bottling machine,beer canning machine, beer kegging machine, hopping machine, yeast propagation equipment. We also supply all auxiliary brewery systems like steam heating pipe and valves, water treatment, filter, air compressor etc. Everything in brewery are all in our list.
Request A Quote